One aspect very upset when we hire a new line or when we make portability is that the voicemail appears enabled by default. This voicemail that allows you to leave messages to the recipients of the call when not serving it is not used by many users looking for how to turn it off, among other things, so that callers are not they Copper establishing the called because of it. Sometimes the easiest way to disable it is Calling at the customer service operator, although it is much faster to enter codes corresponding call to manually disable these.
Your iPhone has multiple messaging options to give your forms network to communicate with you. Your phone calls are given the option to save recorded for you to retrieve messages later. These messages are called voice messages and stored in the "Phone" application. Once you retrieve your voice mail, you can delete it to conserve storage space. Simply select Voicemail and press the delete button receives voice mail list voicemail.
Apple iPhone automatically downloads messages to your voicemail from the voice mail server of the company and stored in the phone memory. If iPhone memory becomes full, the phone stops downloading messages, and these are kept in the voice mail server. When the mailbox is full, you can not receive new messages. Clears messages from the mailbox by deleting messages on your iPhone or checking your voicemail and deleting messages directly from the server.
Steps: Clear voice mailbox stored on the iPhone
1) Tap the "Phone" icon on the iPhone home screen.
2) Touch the "Voicemail" icon at the bottom of the screen to view a list of voice mailboxes stored in the phone memory.
3) Tap the voice mail message you want to remove.
4) Tap "Delete" to delete the message.
Steps on How to Delete the mailbox on the server
1) Open the "Phone" icon and tap the "Keyboard" icon at the bottom of the screen.
2) Dial your own telephone number to access your voicemail or use the shortcut from your service provider. If you use AT & T, hold the "1" key. If you are using Verizon Wireless, dial "* 86".
3) Press "1" to listen to your messages. The voice mail system plays new messages and then stored messages.
However, erasing voice mail or delete voice mail box can be complicated for some operators and the deleted voicemail can be easily recovered by some professional iPhone Data Recovery program. To completely erase your voicemail without recovery, we prefer you Safewiper iPhone Data Eraser, which is the most perfect and safest application for your iPhone to erase data including messages, contacts, photos, notes and more. What's more, It also can clean up your junk files and compress your photos which will increase your storage.
Supported iOS devies: iPhone 7/7 Plus, iPhone 6s plus, 6, iPhone 5, 4. iPad and iPod device.
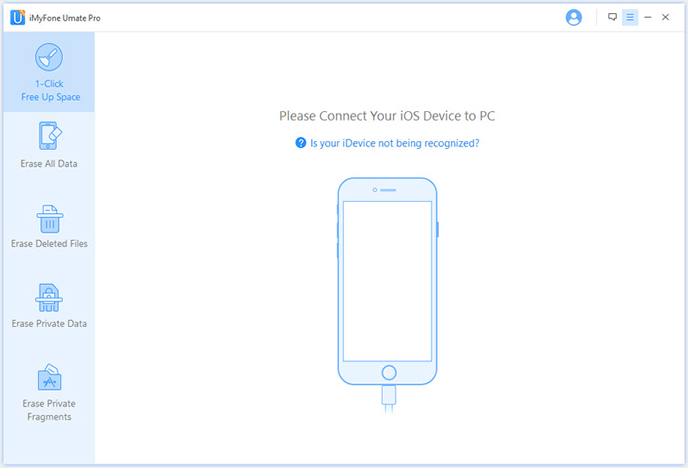
Run the program after the installation (Windows and Mac version are available), and connect your iPhone device to computer via USB cable, the program will detect your iPhone automatically .

Note: Make sure iTunes is already installed , or the software won't detect your iPhone.
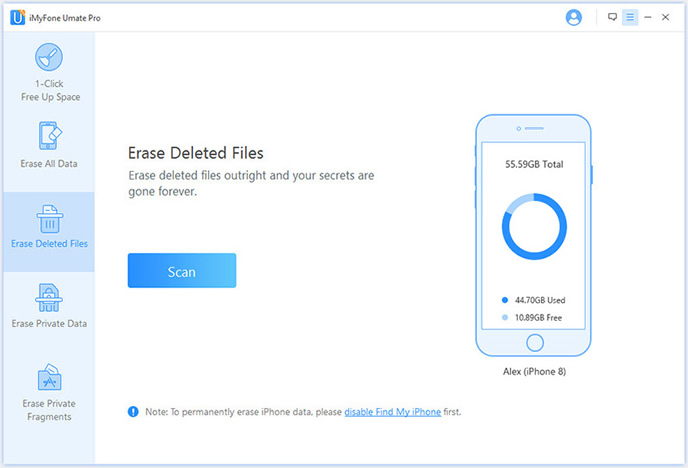
You can check the main panel and will find there 5 erasing option built it, select the "Erase Deleted Files" option to deeply scan your iPhone and completely erase your "already deleted Voicemail" on your iPhone.

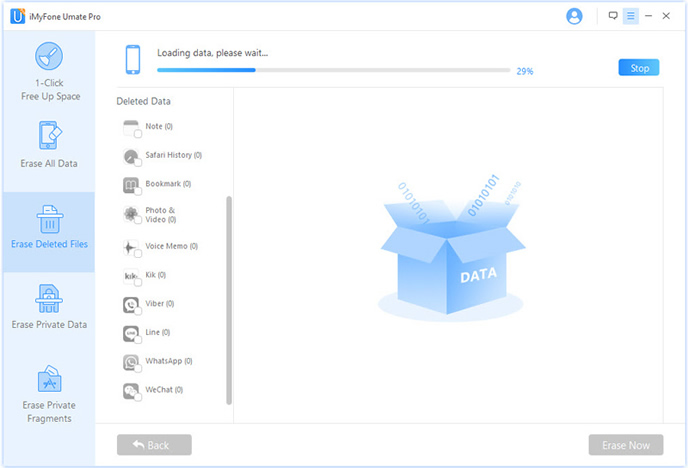
In this step, the Safewiper program will deeply analyze all the "already deleted data" from your iPhone device, it will take several minutes to complete this process, please don't disconnect your iPhone to computer. After the scanning, the all 'deleted data' will be scanned out and displayed in well-organized catalog.

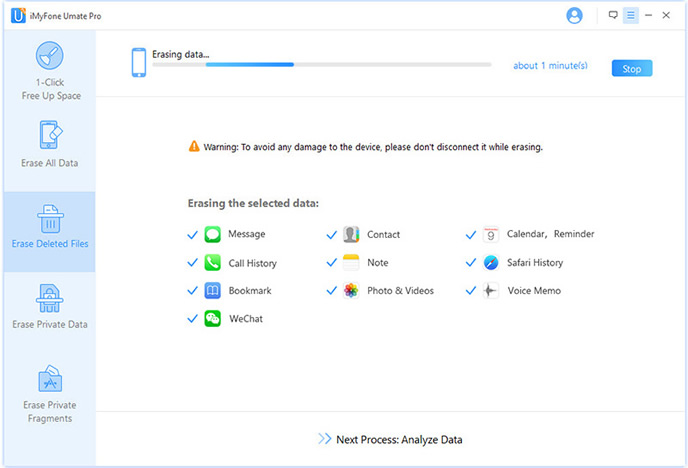
Here you just need to select the 'Voicemail' on the left, then click the "Erase" button. A widows pops up and you'll be asked to type the word "delete" to confirm the permanent deletion. Once the data was erased, nobody or no software can be able to recover them. So think very carefully before doing this.

This program can also individually erase your private data such as contacts, messages, notes, etc. Don't think the simple deletion will ensure the data be permanently removed from device, it still live on your phone's internal storage system and catch system. But Safewiper program can completely kill your privacy information on iOS devices and nobody can retrieve the "erased data".